Monday, October 26, 2020

3D Art: Module Three Week Nine

 Cannon Project: Creating Proxy Geometry in Maya

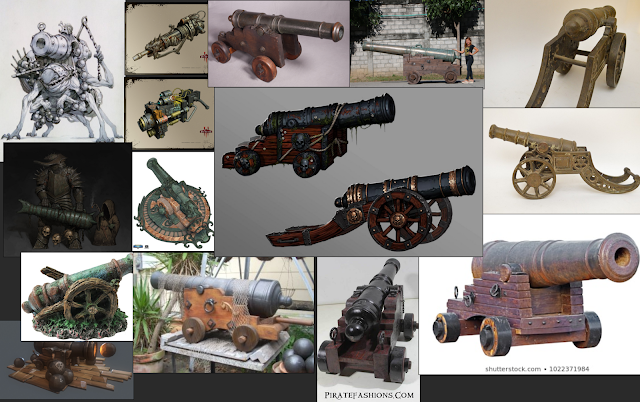
I initially wanted to have a creature-focused cannon, like the two images in the top left of my PureRef board, but I was worried I wouldn't have time to finish it. I instead went with a naval cannon similar to the example:


I ran into an issue with importing in UE4 where my cannon was coming in really tiny, even though I'd scaled it to the UE4 mannequin in my Maya scene. It ended up being because I'd set my units to feet while I was modeling. Setting it back to centimeters and then reimporting solved it.



Thursday, October 15, 2020

Common Art: Week Seven

 Digital Painting Final Illustration

Initially I wanted more restrictions just so I'd have a place to start, but in the end I appreciated how open-ended the assignment was. I ended up being inspired by some Shadow of the Colossus fan art I saw, plus some illustrations by Stefan Koidl:

A lot of his stuff is very ominous. With this image, I liked the cages that the giant had, and the implication that they were for the humans. I scaled up a mannequin and gave them similar inclinations. I tried to keep our previous lessons in mind, and I think I have a well-distinguished foreground and midground. I'm not sure if this counts as three-point perspective, but I think it's at least similar.

I would've liked to have spent more time on it, but Industry Review dominated my time this week.

Industry Review: Fall Semester I


Friday, October 9, 2020

3D Art: Module Two Week Seven

 Game Asset Creation 101: Part Three

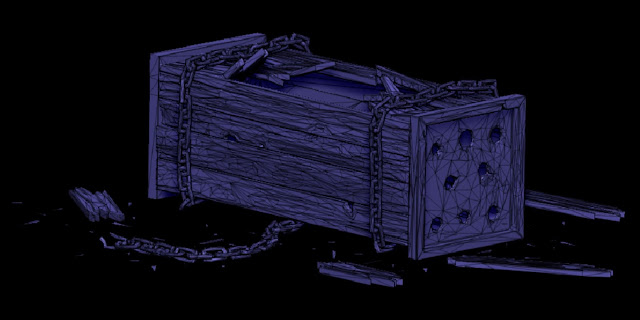
I ended up redoing my sculpt of my crate this week, since the last one was pretty flat and the line thickness wasn't varied. I used the Orb brush pack which really helped with trying out some stylization.


I consolidated my meshes a little bit, but I still ended up having three texture sets: one for the top and front planks along with the splintered wood on the ground, one for the back and bottom planks, and one for the chains.


This workflow for baking maps is a lot easier than the one I had learned for sculpting. I used to sculpt in Zbrush, bring the decimated mesh into Maya, retopologize with the Quad Draw tool, then bring the low-res mesh back into Zbrush and project the high-res information onto it, subdivision by subdivision. Letting Substance Painter handle it cuts out the whole projection step, which was pretty tedious.

Then we needed to get everything rendering in UE4, and make a sequence showing our work.


Wednesday, October 7, 2020

Common Art: Week Six

 Use of Perspective

For this week, we needed to make at least four assets, and use them for kitbashing. With the scene we created, we got renders of one-point, two-point, and three-point perspective.

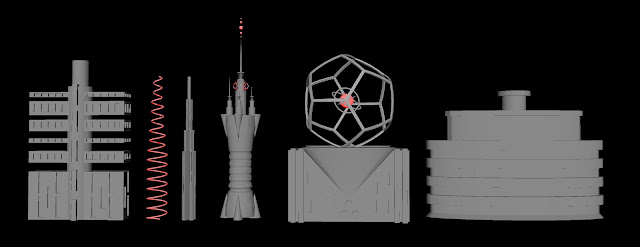
I created these buildings and added some emissive to them for interest, since they're pretty rough and simple. I also used the mountains from the composition assignment, since having the city end so abruptly looked awkward.

From there, I rendered my three different perspectives, and then chose the two-point perspective to add to in Photoshop.

One-point
Two-point

Three-point


Monday, October 5, 2020

3D Art: Module Two Week Six

 Game Asset Creation 101: Part Two

This week, we needed to sculpt on a dynamesh'd version of our crate. For me, dynameshing kept collapsing a lot of the holes and splits I had put in the planks, so I ended up using zremesher instead. 

We also needed to decimate the sculpt in Zbrush, and give it clean topology.


Finally, we imported everything into Substance Painter. I had to use a few shaders because my UVs overlapped.


Thursday, October 1, 2020

Common Art: Week Five

 Use of Composition

This week we looked at Phil Straub's guide and learned about composition approaches and implied forms. We needed to kitbash a scene in Maya and then composite it in Photoshop.


I set up a separate camera in Maya to frame my scene and then used the perspective camera to look around and move things. I added in a rickety bridge and had a few of the UE4 mannequins cross it.


I was using Sylvain Sarrailh's works as a reference for my composition and color scheme. I was originally trying to do an iconic composition, but I think it ended up more like the pyramid/triangle composition.


I tried to mess around with the lens blur to create a depth of field, with the midground being what I wanted to have in focus. I couldn't get Arnold to render a z-depth pass, so I had to make a knock-off version in Maya Software.

Janky z-Depth
Depth of field